
DISCLAIMER: The content of this post/blog is based on opinion on what I have learned and for educational purposes, therefore if there are any mistakes or recommendation for improvement leave a comment 🙂
Introduction:
Sometimes you might want to practice penetration testing but of course you cannot do that to a server owned by another person/organization because it is illegal, you do not have the permission and you can be heavily punished for that.
In this post I will share my experience on how to set up a Digital Ocean Server(Droplet) with Nginx installed, SSL and Cloudflare configured to get you started on creating a server to practice your penetration testing skills. I also believe that as a Penetration Tester it is good to know how these things are installed and configured.
You can install wordpress on the cloud server and practice penetration testing wordpress or a copy of your friend’s website to pentest his/her web application.
Of course there are other alternative methods to practice your penetration testing skills such as:
- Capture The Flag websites such as https://www.root-me.org/?lang=en which I recently tried with the CTF team in Binus International founded by Williams.
NOTE: Capture The Flag is an information security competition that requires the competitor to exploit a system as a challenge and each challenge can be broken down to different categories.
- Local Vulnerable Servers which can be installed as a Virtual Machine in your computer/laptop but in my opinion this will slow your computer/laptop but in my opinion this can make your computer/laptop slow because the Vulnerable Server can be heavy therefore putting it online or in the cloud will remove the strain in your computer/laptop/
Post:
Requirements
- SSH for Mac, Putty for Windows ( https://www.putty.org/ ).
- Digital Ocean Account and a $5 Droplet.
- A Domain.
- Cloudflare Account with your registered Domain.
NOTE: If you are a student you can get a free $50 digital ocean wallet money and a free .me domain from https://education.github.com/pack
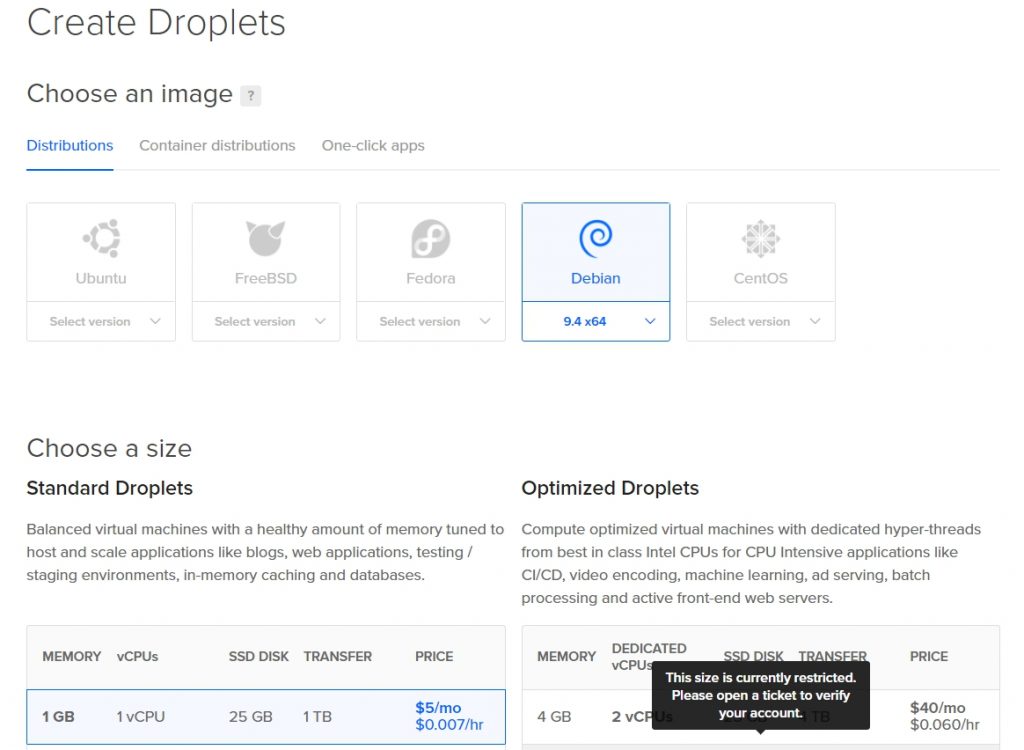
In your $5 Droplet, I recommend to install the Debian OS compared to Ubuntu. Now the reason I say compared to Ubuntu is because I have not really tried much on the other available Operating systems. In my opinion Debian is much more lightweight and stable compared to Ubuntu because it requires better hardware.
After creating your Droplet you will receive an email of the password needed to connect to the droplet through SSH/Putty.
For this tutorial I will be using my domain (dyzdev.my.id) and putty because I am a Windows 10 User 🙂
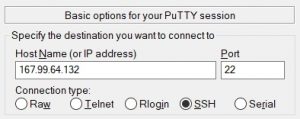
Copy the IP Address of your droplet, open Putty and paste it in Host name and click OPEN.
A Terminal will then open and you are required to who to login as, type root and paste the password you received in your email.
NOTE: Do not panic if you do not see any text in your terminal, that’s because since it is a password it has to be kept hidden from showing in the terminal but do not worry, its actually being input.

After pasting the password, paste the password once more and you will be asked to input a new password. Make sure you input a complicated password because an incident once happened to my friend where his droplet got hacked because of using a weak password.
Start by running these two commands:
- sudo apt-get update
- sudo apt-get upgrade
Next we are going make your domain point to your Droplet’s IP, first go to the website where you host your domain. Make sure its pointing to the nameservers of your Cloudflare which can found in the DNS menu in your Cloudflare’s dashboard.

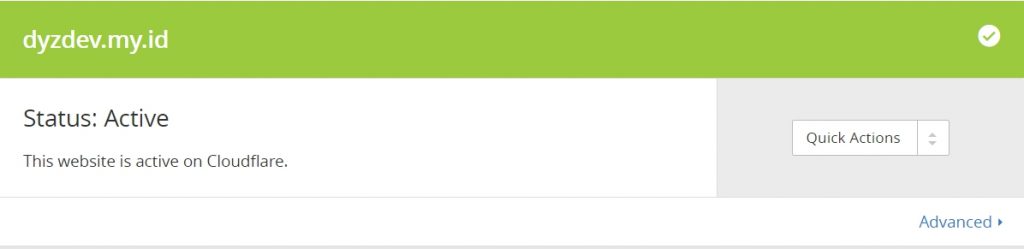
Then make sure your domain is active on Cloudflare.
Go to your Cloudflare dashboard, then go to DNS, add a new DNS Type A Record with its name containing your domain and the IPv4 Address, the address of your droplet.

Go back to your Putty Terminal connected to your droplet and run:
- sudo apt-get install nginx
- service nginx start
This will install nginx server in your droplet and start your nginx server.
Type your domain in your browser and you should get.
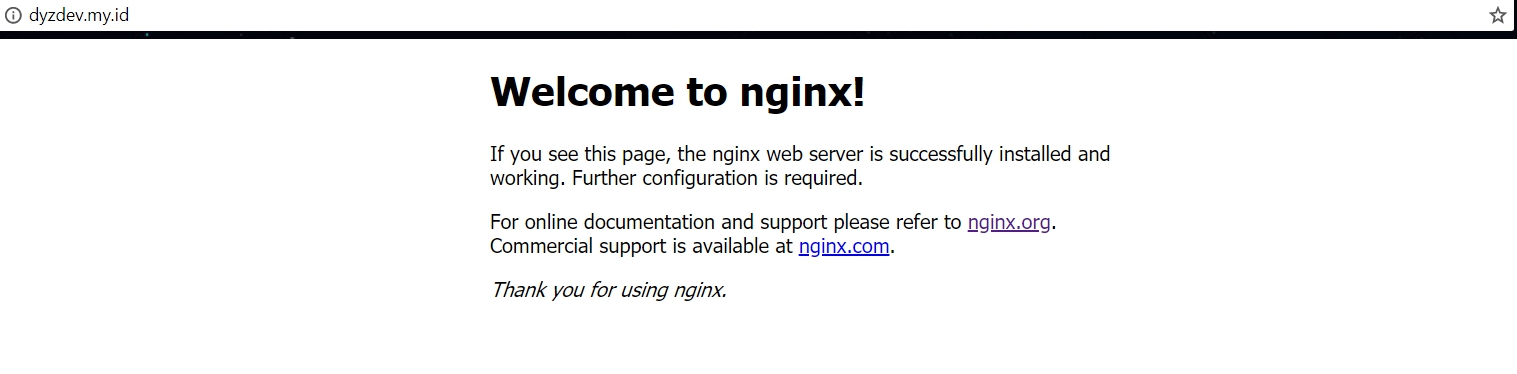
Hooray your website is live! But we are not done, we need to configure SSL to create HTTPS and create a HTML page to display Hello World.
Go to your Putty Terminal and run these commands in order:
- cd /etc/nginx/sites-enabled: This will change your working directory to the specified directory.
- rm *: remove all files in your working directory.
- nano default: Creates a new file in your file called default and starts the nano text editor program.
NOTE: nano is a newbie-friendly text editor which can be used in terminal.
Paste the following code:
server {
listen 80 default_server;
listen [::]:80 default_server;
return 301 https://$host$request_uri;
}
CTRL-X to Save and Exit.
Then nano yourdomain.com <–change this to your domain and also those in the code
Paste the code:
server {
listen 443;
root /var/www/web;
index index.html index.htm;
server_name yourdomain.com;
ssl on;
ssl_certificate /etc/nginx/certs/yourdomain.com/ssl_public.pem;
ssl_certificate_key /etc/nginx/certs/yourdomain.com/ssl_private.key;
location / {
try_files $uri $uri/ /index.html?$query_string;
}
}
The ssl_public.pem will be used to store your SSL’s public key.
The ssl_private.key will be used to store your SSL’s private key.
Go back to your Cloudflare dashboard and go to Crypto. Go to the SSL panel and make sure the setting is Full.

Scroll to the bottom and go to the Origin Certificates panel and click Create Certificate, the click next.
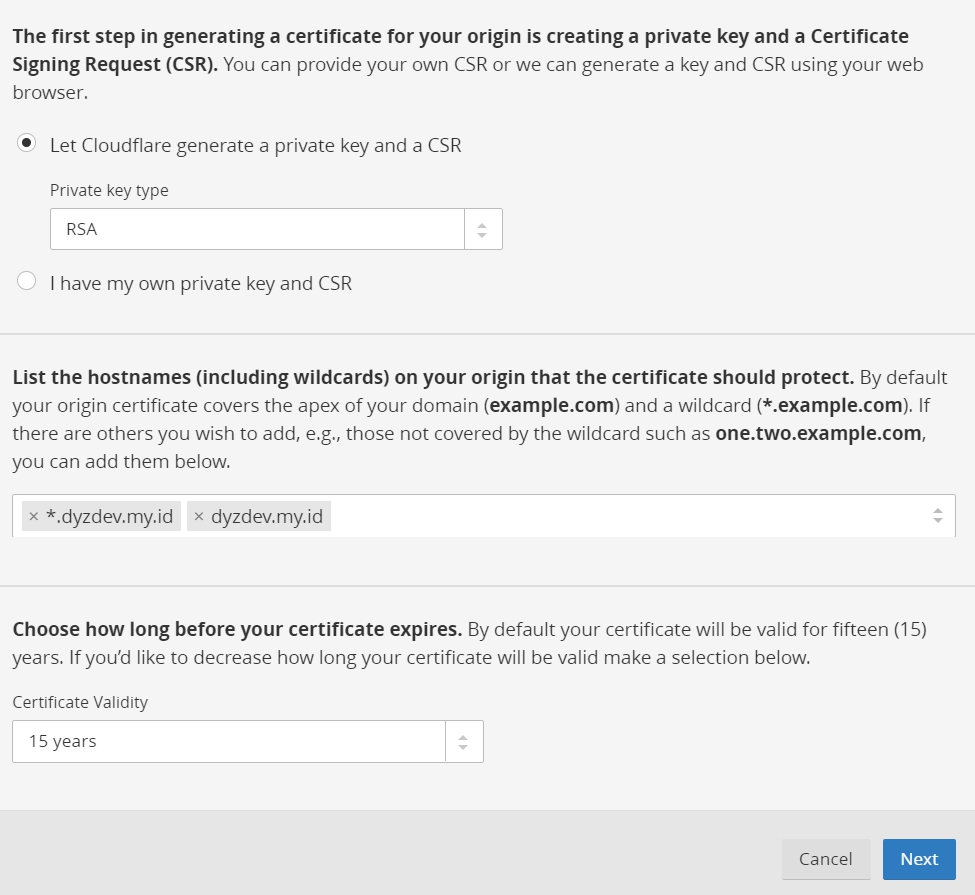
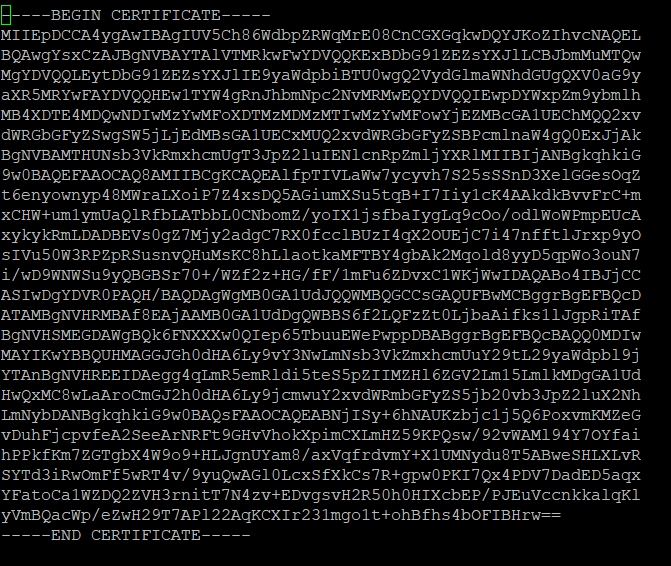
After clicking next you will see your public and private key of your SSL certificate.

Copy the public key and paste it to the ssl_public.pem file and its respective directory. Copy the private key and paste it to the ssl_private.key file and its respective directory.
NOTE: It is very important that you never share these with anyone as this is one of the major factors that will determine the security of your web app.
Now its time to create the Hello World index.html.
Change directory to /var/www/web.
nano index.html and paste the following html code:
<h1>Hello World</h1>
Run the command:
service nginx restart
Open your domain in your browser and you should get a Hello World webpage with https.
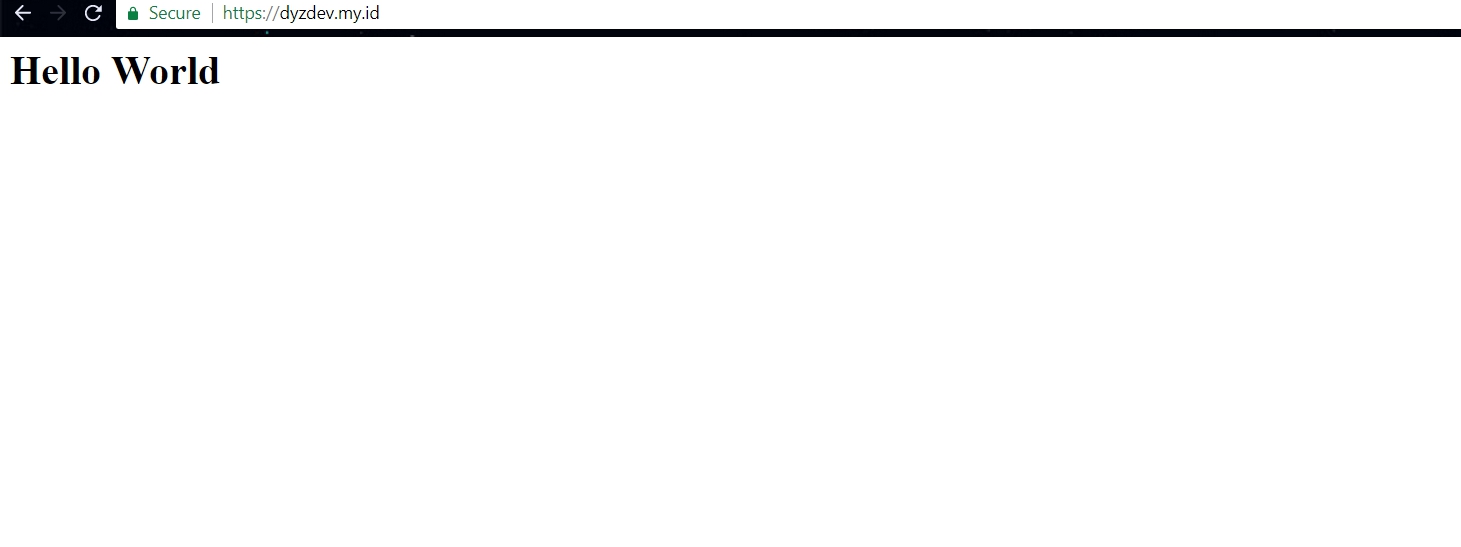
You can start installing/creating web applications or vulnerable servers to practice your pentesting skills.
You can start by installing wordpress or the application you would like to pentest. Do not forget to install the required packages for the application such as PHP and Mysql. There are many tutorials online that can teach people how to install packages in linux and I will probably make one in the future.
Thank You Have a Nice Day 🙂